Essential Tips for Growing Corn at Home: A Comprehensive Guide

by | Dec 31, 2024 | Gardening | 0 comments

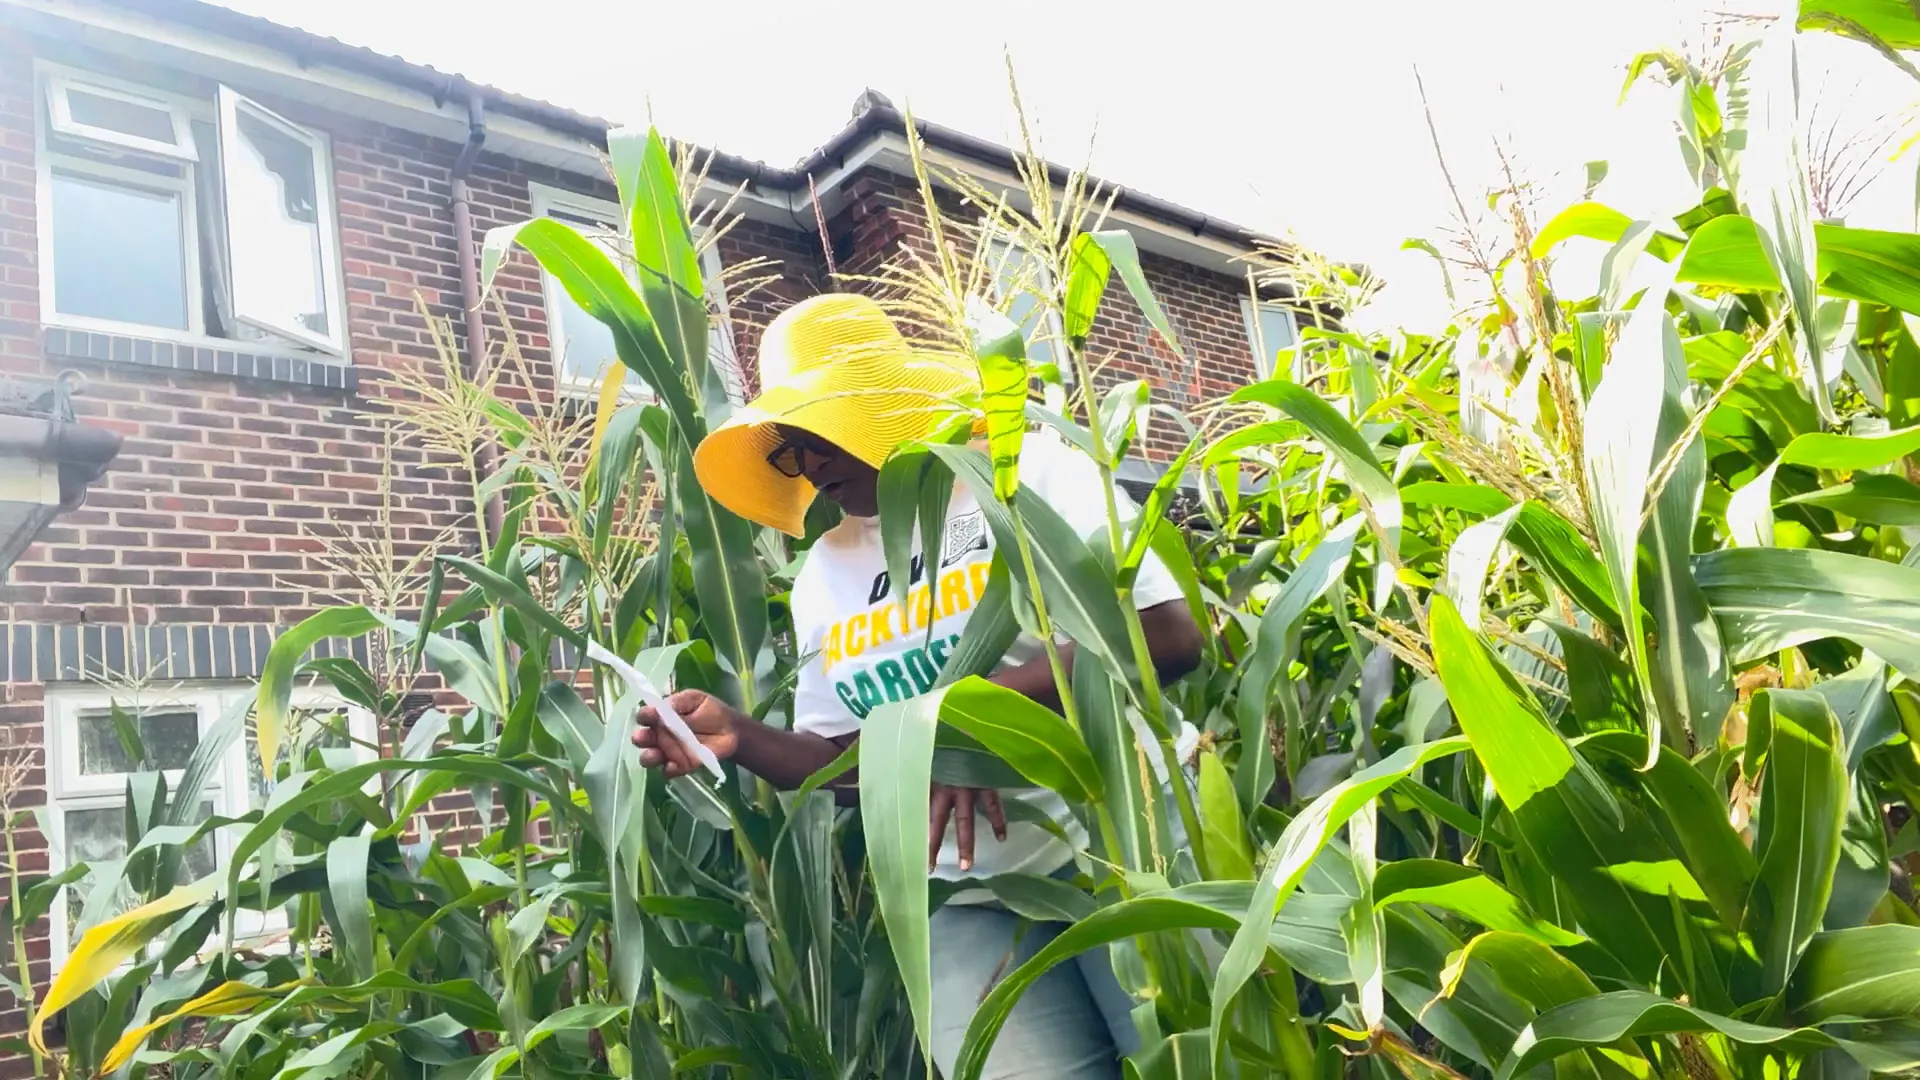
Growing your corn at home is both satisfying and rewarding, especially when you get it right! In this blog, I’ll guide you through the essential steps of planting, nurturing, and harvesting corn, inspired by my experiences in a quaint London home garden. Let’s bring the taste of fresh, homegrown corn to your table!

Introduction to Growing Corn

Growing corn is a fulfilling endeavor, blending effort and reward equally. Whether you dream of sweet corn for summer gatherings or robust varieties for hearty recipes, getting the basics right is crucial. Corn, a warm-weather crop, thrives in sunny gardens and has been a staple in homegrown traditions for generations.

Start by choosing the right variety to match your preferences and climate. Corn isn’t just a treat for the palate; it’s a versatile ingredient with endless culinary possibilities. Think buttery fresh cobs on the grill, rich corn soups, or even homemade cornmeal for baking. With the right care, your corn-growing journey can transform into a flavorful adventure!

Choosing the Right Variety of Corn

When choosing which corn to grow, think about the type that fits your needs and taste:

  • Sweet Corn: A favorite for fresh eating and grilling, with its tender kernels and natural sweetness.
  • Popcorn: A fun choice that transforms into a tasty, crunchy snack when heated.
  • Dent Corn: Often used for making cornmeal or as animal feed, recognizable by its distinctive “dent” at maturity.
  • Flint Corn: Hard, colorful kernels are ideal for decoration or grinding into cornmeal.

Each variety has unique traits and requires specific growing conditions. Research your local climate and soil to find the best match. For example, sweet corn thrives in areas with longer growing seasons, while dent or flint corn varieties are often more adaptable to cooler climates. Choosing the right type for your garden ensures a bountiful harvest tailored to your needs!

Different varieties of corn

Preparing for Planting

Preparation is everything when it comes to growing a thriving corn crop. Begin by selecting a sunny spot with well-drained soil, as corn needs plenty of sunlight to grow tall and healthy. Since this crop is a heavy feeder, enriching your soil with compost or well-rotted manure is a must. For the best results, test your soil to check its pH (aim for 6.0-6.8) and nutrient levels, adjusting as necessary with organic fertilizers.

Planning your planting layout is just as important as preparing the soil. Corn thrives when planted in blocks rather than single rows, as this setup ensures effective pollination. Corn relies on wind to transfer pollen from its tassels to the ears, so having multiple closely spaced plants increases the likelihood of every ear filling out with plump kernels. With the groundwork laid, your corn will have the best chance to grow strong and yield a rewarding harvest.

Preparing the soil for planting corn

Planting Corn Indoors

Starting corn indoors is a smart strategy, especially if you live in areas with shorter growing seasons. Begin by filling seed trays with a quality seed-starting mix, which provides the perfect balance of nutrients and drainage. Plant each corn seed about an inch deep in the mix, spacing them evenly within the tray. Place the trays in a warm, sunny spot—like a windowsill or under grow lights—to encourage germination. Keep the soil consistently moist but not waterlogged.

When the seedlings reach 4-6 inches in height, they’ll be ready to move outdoors. However, timing is crucial! Wait until the soil temperature consistently measures above 60°F (15°C) to avoid transplant shock. Acclimate your young plants by hardening them off—exposing them to the outdoor environment for a few hours each day over the course of a week. Once ready, transplant them into your prepared garden, and watch them thrive!

Starting corn seeds indoors

Understanding Water and Fertilizer Needs

Corn loves water and nutrients, making proper hydration and fertilization essential for a bountiful harvest. To keep your plants happy, maintain consistently moist soil, especially during key growth stages like germination and kernel formation. Ideally, corn requires about 1 to 1.5 inches of water per week, whether from rainfall or manual irrigation. Be sure to water deeply, as corn has a robust root system that benefits from thorough hydration.

For fertilization, corn thrives with a balanced fertilizer or one that is high in nitrogen, which supports its vigorous growth. Start by applying fertilizer at planting and working it into the soil to give the young plants a strong start. Once the plants reach about knee height, apply a second round of fertilizer to sustain their energy needs through their rapid growth phase. Keeping your corn well-watered and nourished will set the stage for healthy plants and a thriving crop.

Watering corn plants

Pollination Process and Techniques

Pollination is the lifeline of a successful corn harvest, as corn relies on wind to transfer pollen from tassels to the silks of the ears. To optimize pollination, plant your corn in blocks or clusters rather than single rows. This setup encourages the wind to distribute pollen more evenly across the plants, ensuring the silks receive adequate coverage for kernel development.

Keep an eye on your crop to confirm that tassels produce pollen—a fine, powdery substance visible during the pollination stage. If you notice incomplete ear development, you might need to give nature a little nudge. Assist pollination manually by gently shaking the plants or using a small, clean brush to collect pollen from the tassels and apply it directly to the silks. These simple steps can significantly improve your yield and ensure every ear is full and luscious!

Pollination process of corn

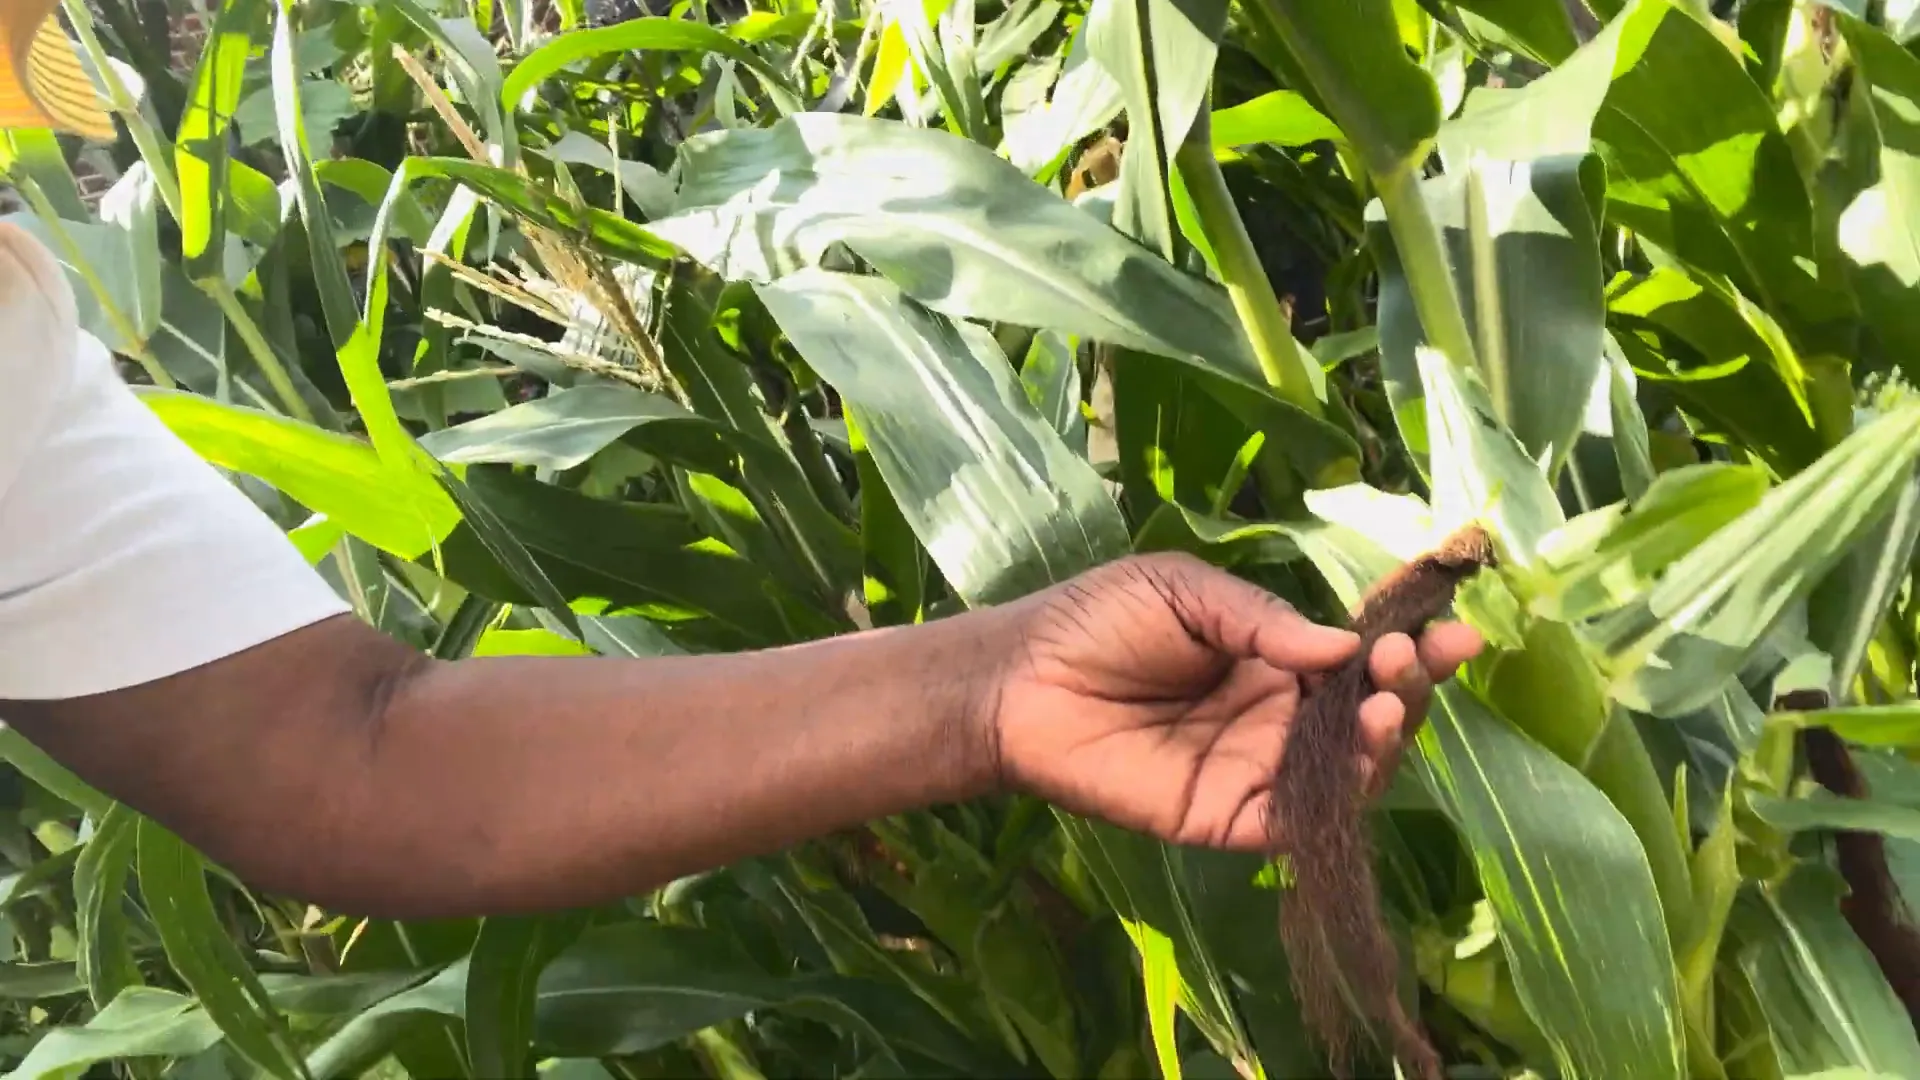
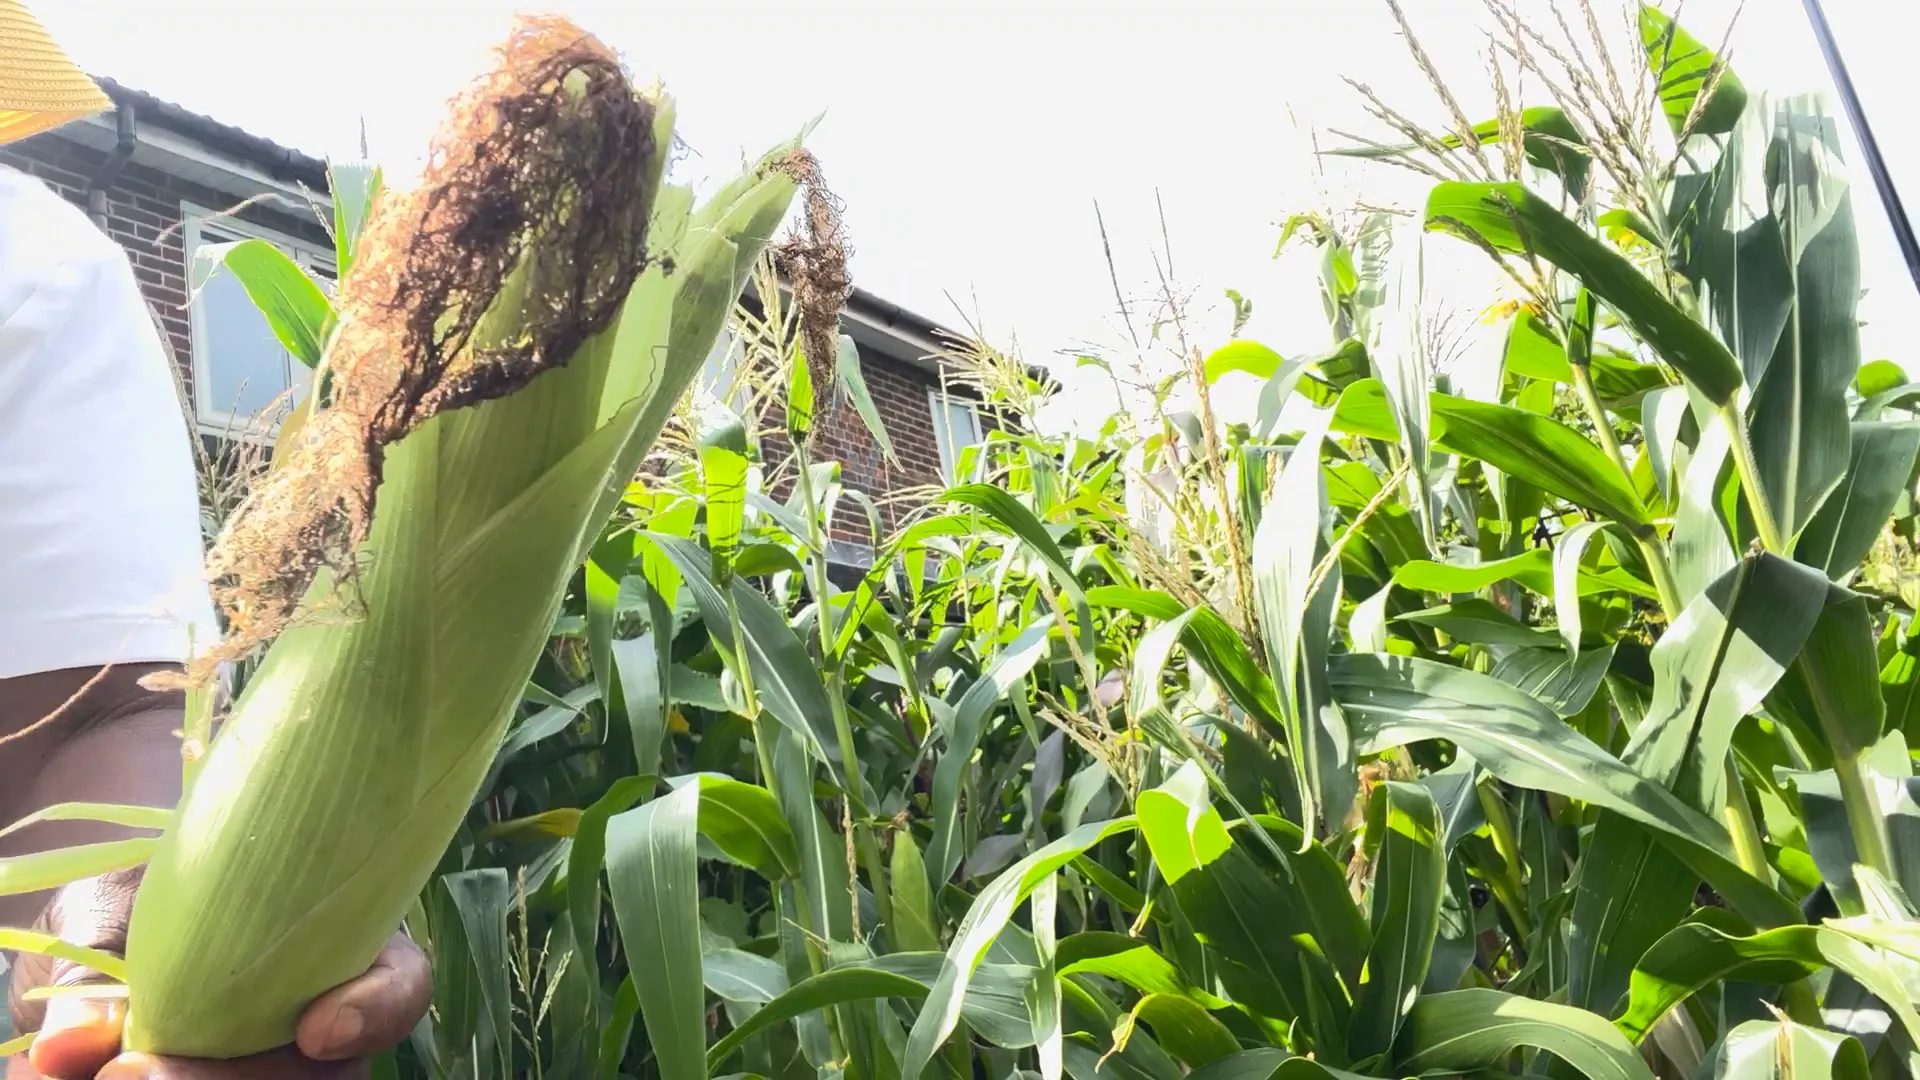
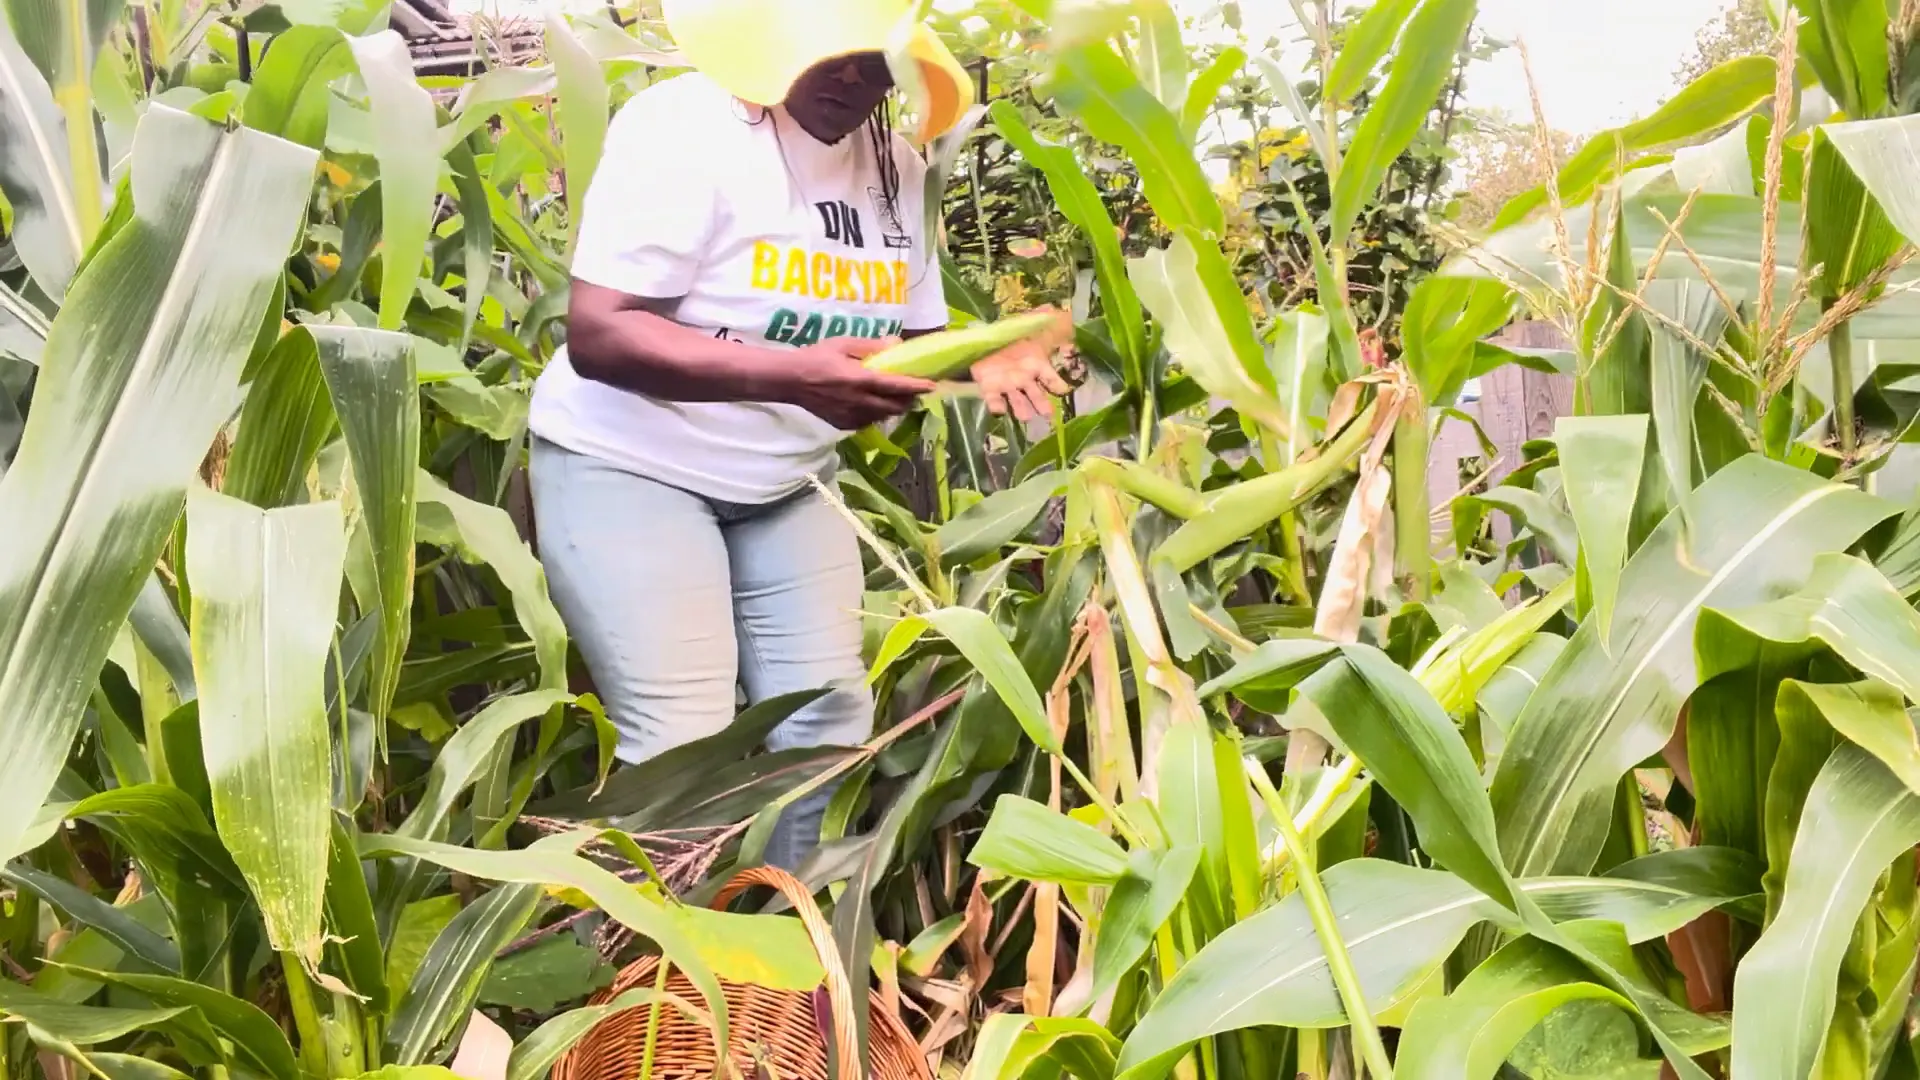
Recognizing When Corn is Ready to Harvest

Harvesting your corn at the right time is key to enjoying its peak flavor and texture. Look for the silks at the top of the ears to turn brown and dry out—a clear indicator that the ears have matured. However, don’t rely solely on the silks; a closer examination of the kernels will give you the best confirmation.

To check if your corn is ready, gently peel back a bit of the husk and press a kernel with your fingernail. If a milky liquid seeps out, the corn is ripe and ready to harvest. If the liquid is clear, it needs a bit more time. Conversely, if the kernels are hard and no liquid emerges, the corn is overripe. For the best results, aim to pick your corn when the kernels are plump, tender, and juicy.

Corn is at its sweetest right after harvesting, so try to cook or store it as soon as possible to savor its fresh, natural sweetness!

Checking corn kernels for readiness

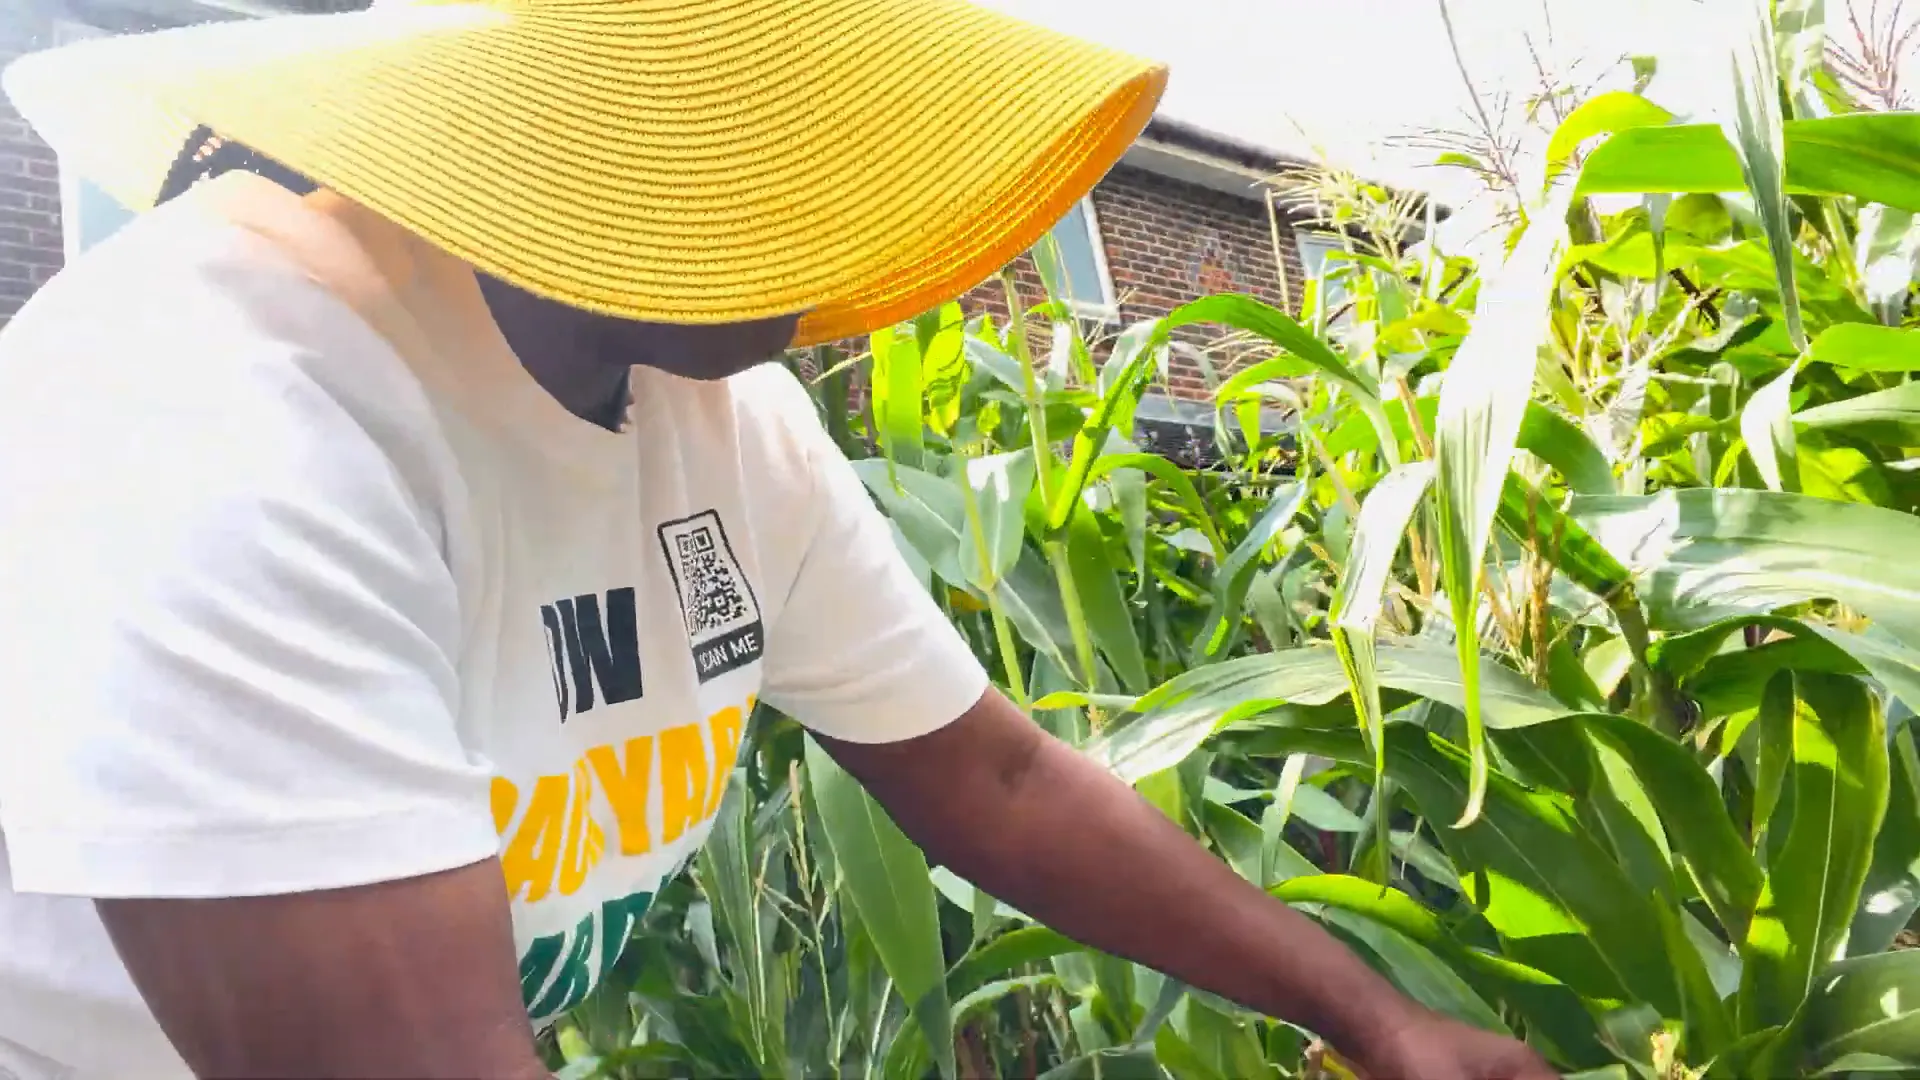
Weeding and Pest Control Strategies

Effective weed and pest management is crucial for a thriving corn crop. Weeds compete for vital nutrients and water, so make it a habit to regularly inspect your corn patch and remove weeds either by hand or with a hoe. For an extra layer of protection, apply mulch around your corn plants. Mulch helps suppress weed growth and retains soil moisture, promoting healthier plants.

When it comes to pests, corn can attract a range of unwelcome visitors, including birds, foxes, and insects like corn earworms. To safeguard your crop, consider using physical barriers such as netting or row covers. These can effectively block larger pests from accessing the corn. For smaller pests, a simple solution like an elastic band wrapped around the ear of corn can prevent bugs from creeping in.

By staying proactive with weed and pest control, you’ll give your corn the best chance to flourish, ensuring a healthy and bountiful harvest.

Using netting to protect corn from pests

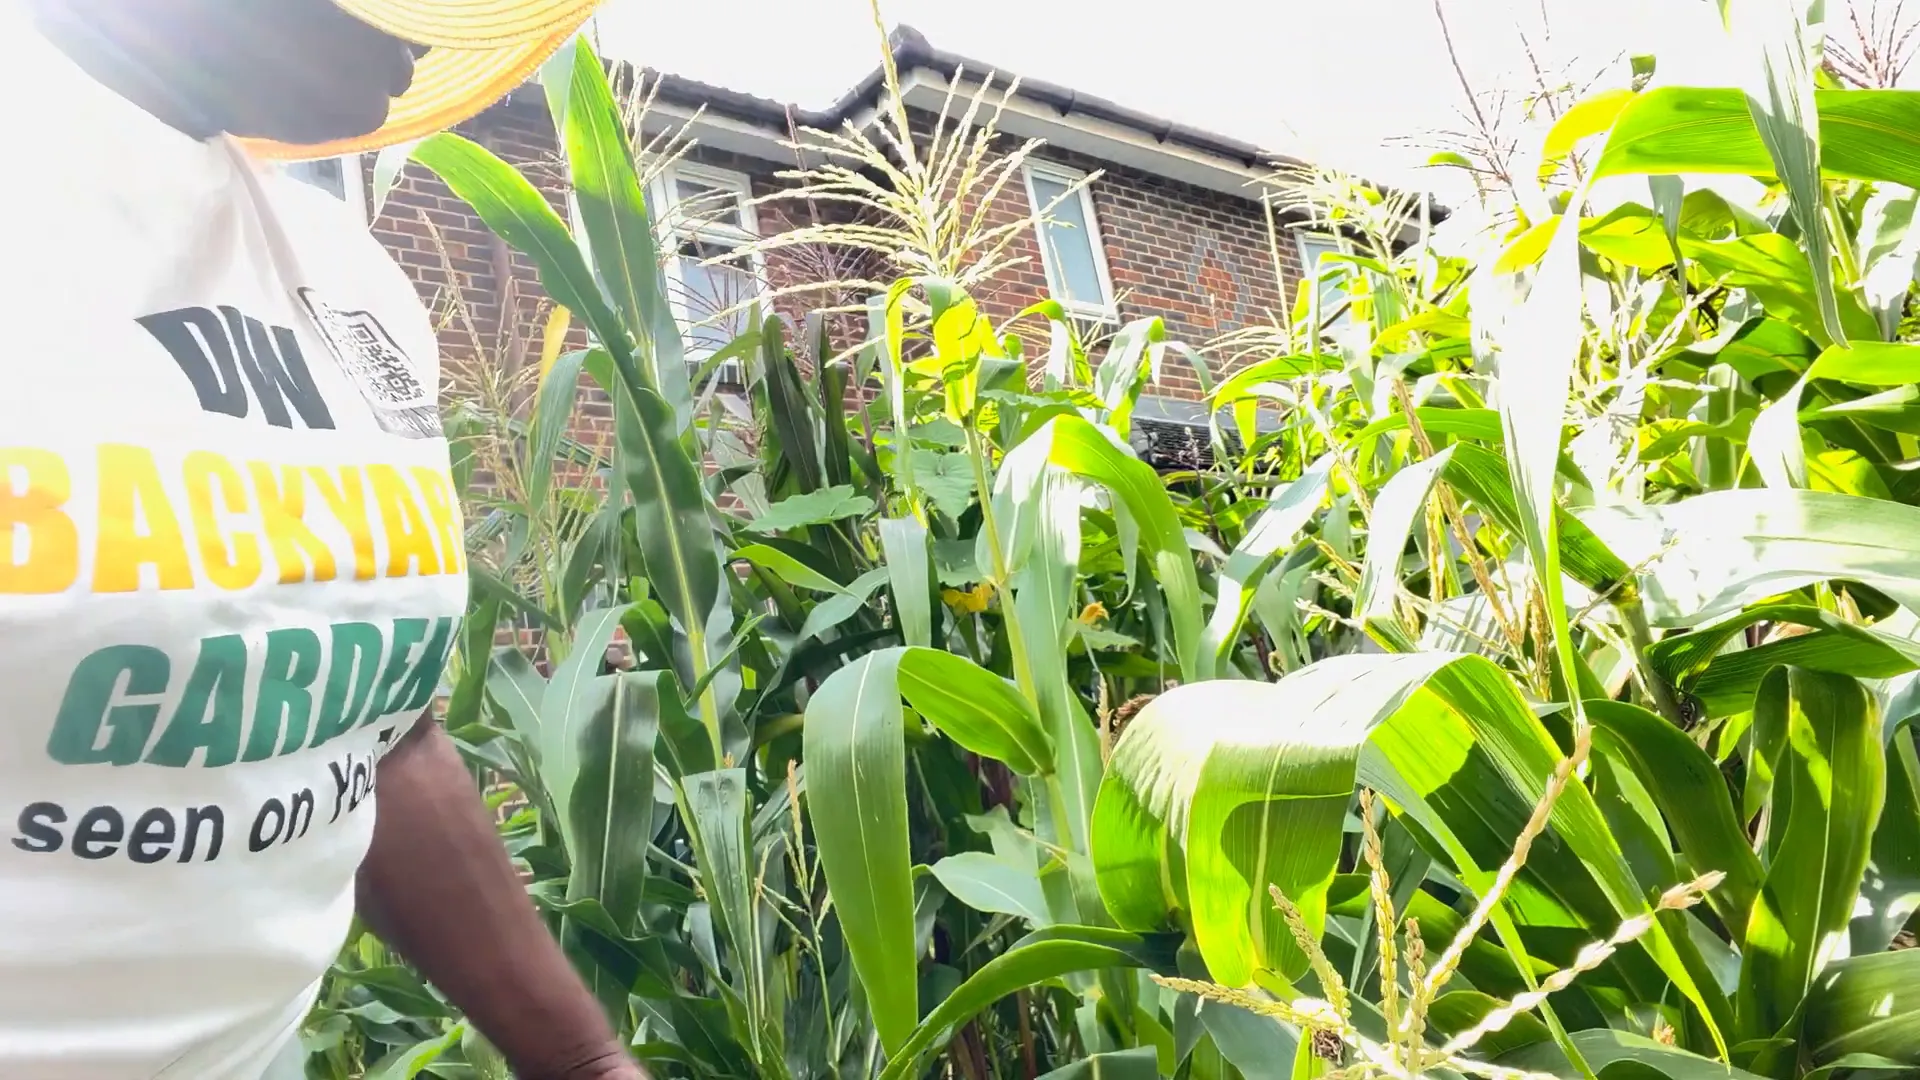
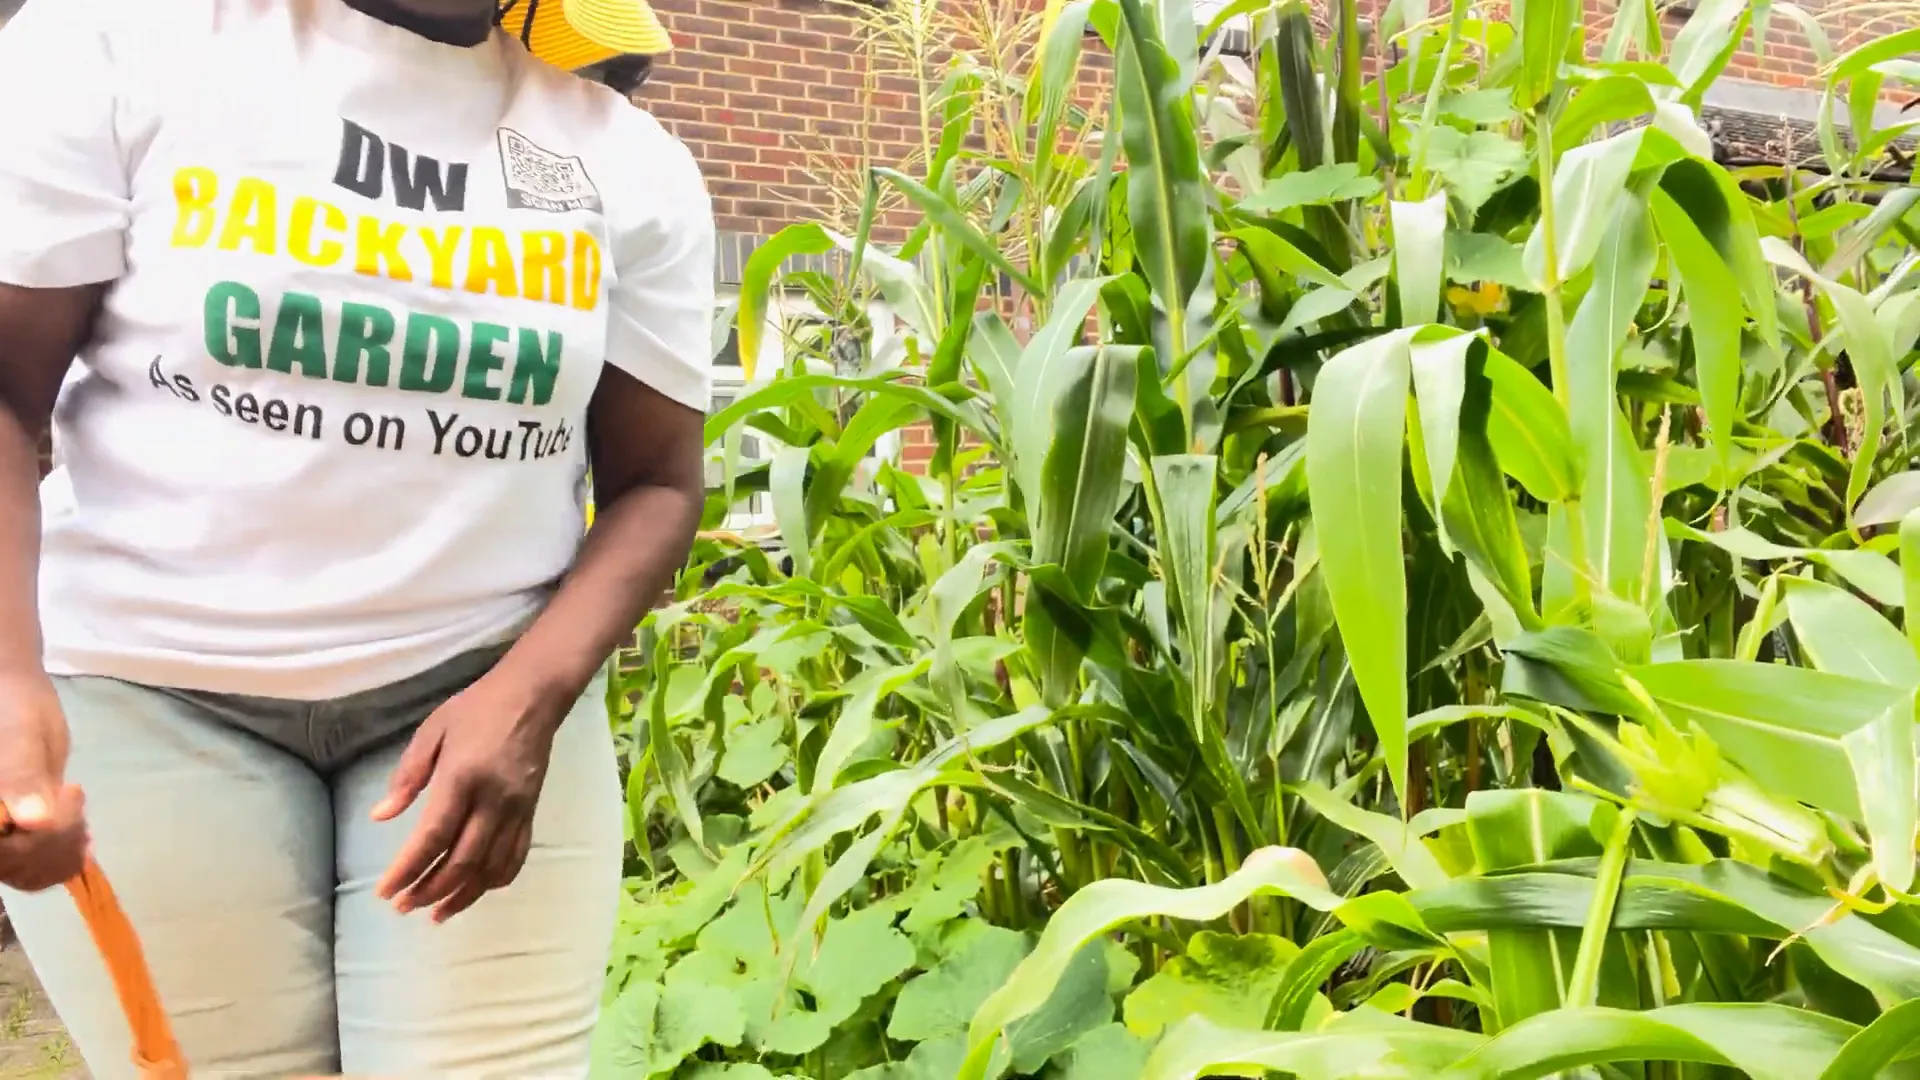
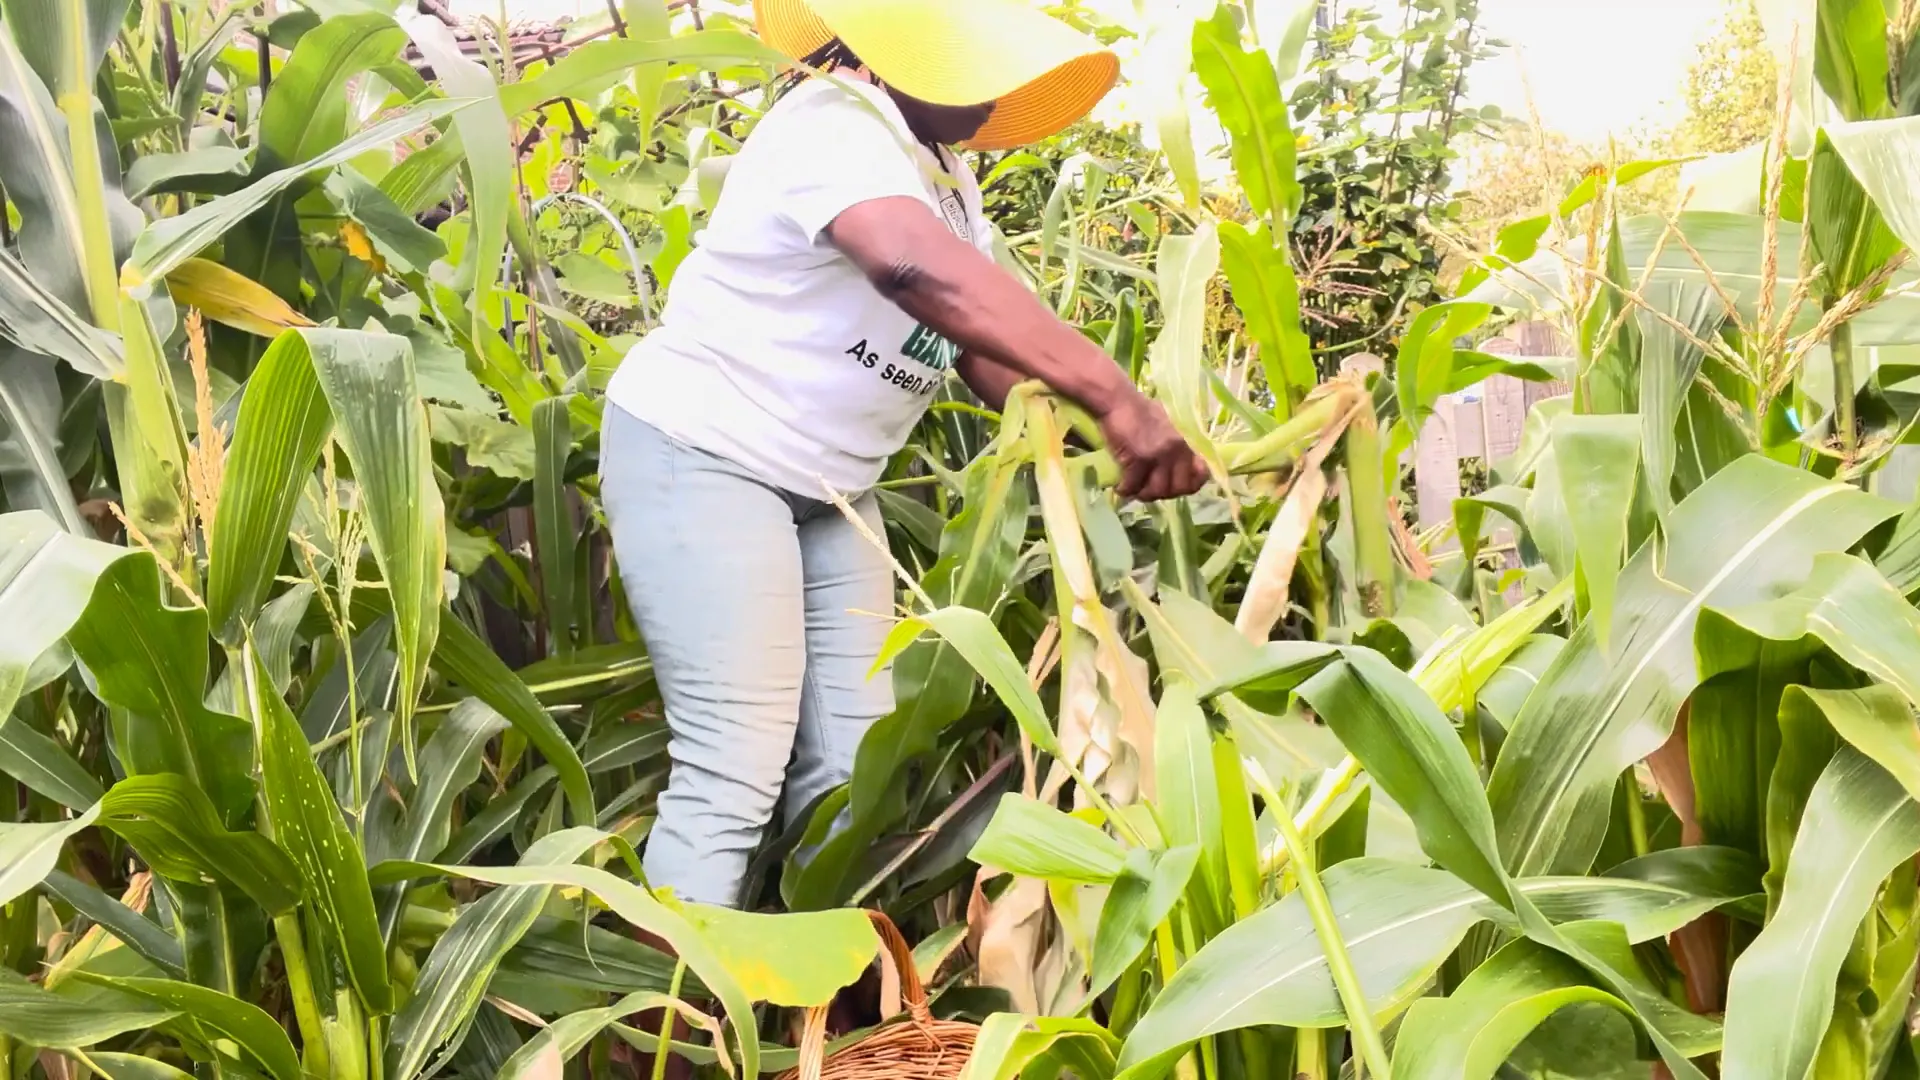
Harvesting Techniques and Tips

When harvest time rolls around, treat your corn crop with care to ensure the best quality. Grip each ear firmly and twist it downward to break it off the stalk. Since not all ears ripen at the same time, it’s a good idea to check multiple ears on the same plant for readiness. Harvesting in the morning is wise, as the cooler temperature helps preserve the corn’s natural sweetness.

After harvesting, strip the husks and silk from the ears. If you’re not planning to use the corn immediately, store it in a cool, dry place or refrigerate it to retain its freshness. For longer-term storage, freezing or drying the corn are excellent options. Simply blanch the kernels before freezing or dry them for later use in soups or as a snack. Proper handling and storage will ensure you enjoy the fruits of your labor long after the harvest season.

Harvesting corn from the stalk

Post-Harvest Care and Storage

After harvesting your corn, proper handling is key to preserving its freshness and flavor. If you plan to enjoy your corn fresh, consume it within a few days for the best taste. Wrap it in a damp cloth and store it in the refrigerator to keep it crisp and juicy for longer.

For longer-term storage, freezing is an excellent choice. Start by blanching the corn—briefly boil the ears in water, then transfer them to an ice bath to stop the cooking process. Once cooled, cut the kernels off the cob and place them in airtight freezer bags. This method locks in the corn’s sweet flavor and essential nutrients, ensuring you can savor your homegrown harvest even after the season ends.

Storing corn in the refrigerator

My Encouragement to Start Planting

Growing corn at home is a rewarding adventure that yields delicious results when approached with care and attention. Each step, from selecting the right variety and planting to nurturing and harvesting, contributes to the success of your crop.

Ready to take on the challenge? With proper preparation, consistent care, and a little patience, you can enjoy the unparalleled sweetness of homegrown corn in your dishes. Don’t forget to share your journey, tips, and harvest with fellow gardening enthusiasts—there’s nothing like connecting over the joy of a bountiful home garden!

Bountiful harvest of corn

Written By D W

About the Author

Hello, I’m Donna, your kitchen companion and green-thumbed friend! My roots are in Jamaica, where I grew up savoring the vibrant flavors of traditional dishes and learning the art of gardening from my family. Now, I’m bringing those cherished memories and recipes to life, alongside practical gardening tips, to inspire your journey in creating delicious meals and cultivating fresh produce. Let’s celebrate the joy of food, the magic of the garden, and the warmth of sharing it all with loved ones!

Related Posts

Orchid Care: Keeping Your Blossoms Blooming for Years

Orchid Care: Keeping Your Blossoms Blooming for Years

Welcome to the vibrant world of orchids, where these stunning flowers can bring a splash of colour and life to your home! In this guide, I’ll share my favourite tips and tricks for nurturing your orchids, keeping them healthy, and ensuring they bloom beautifully for...

read more

0 Comments

Submit a Comment

Your email address will not be published. Required fields are marked *

Pin It on Pinterest

Share This