
Lawd have mercy, getting the garden ready for pepper season is real work. But when you see that fresh soil biting into the goodness and your peppers start looking ready, the effort sweet like pineapple. My kind of gardening is not Instagram perfect. It is progress. It is practical. And it is always delicious in the end, because I feed the soil like I cooking.
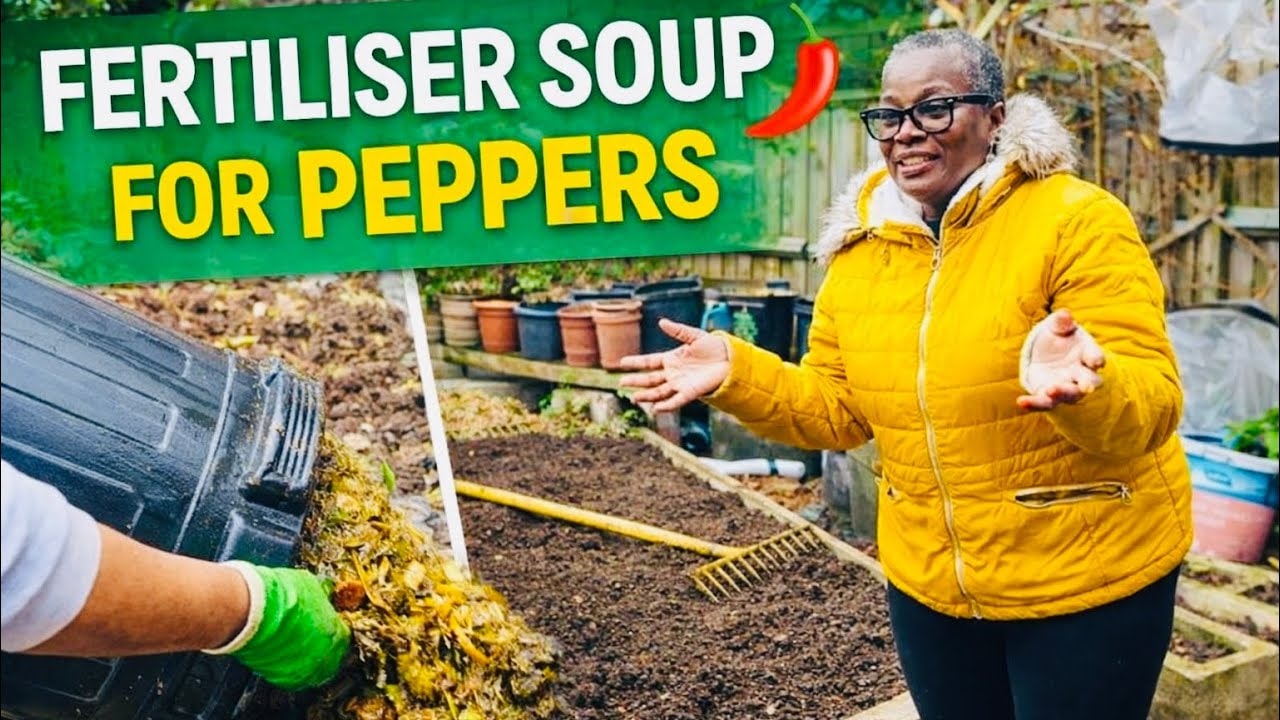
Today I am sharing my proper prep routine from my back garden. We are refreshing a raised bed, reusing old soil, and making my fertiliser soup from last year, packed with apples, pineapple, cabbage, and all the food scraps from the garden. Then we rake that goodness in so it can settle right where the pepper roots will reach.
I am Donna, 62 years old, Jamaican cooking and gardening lover, flamboyant as anything, and I believe every garden reset should come with a little joy and a lot of results. So if your garden is messy right now, don’t fret. Mine was too. We sort it out, one shovel at a time.
Why I Start With the Soil and Not the Pots
When it comes to peppers, I don’t just throw plants in and hope for the best. I prep the bed like it is a pot of food that need flavouring. The soil has to be fed, warmed up, and made friendly for roots.
One of my favourite tricks is using what is already there. I reuse soil instead of tossing it. But there is a catch. I don’t reuse the exact same soil for two years running. I rotate it and refresh it. That way the bed stays productive and the soil life keeps doing its thing.
Right after winter, when the weather turns mild and the bees and birds start coming out, I know it is time. Perennials start pushing their heads up again. Lavender comes back. Daffodils bloom in that cheerful yellow because it is always trying to cheer me up. That is when I get stuck in.
My Garden Setup for Pepper Season
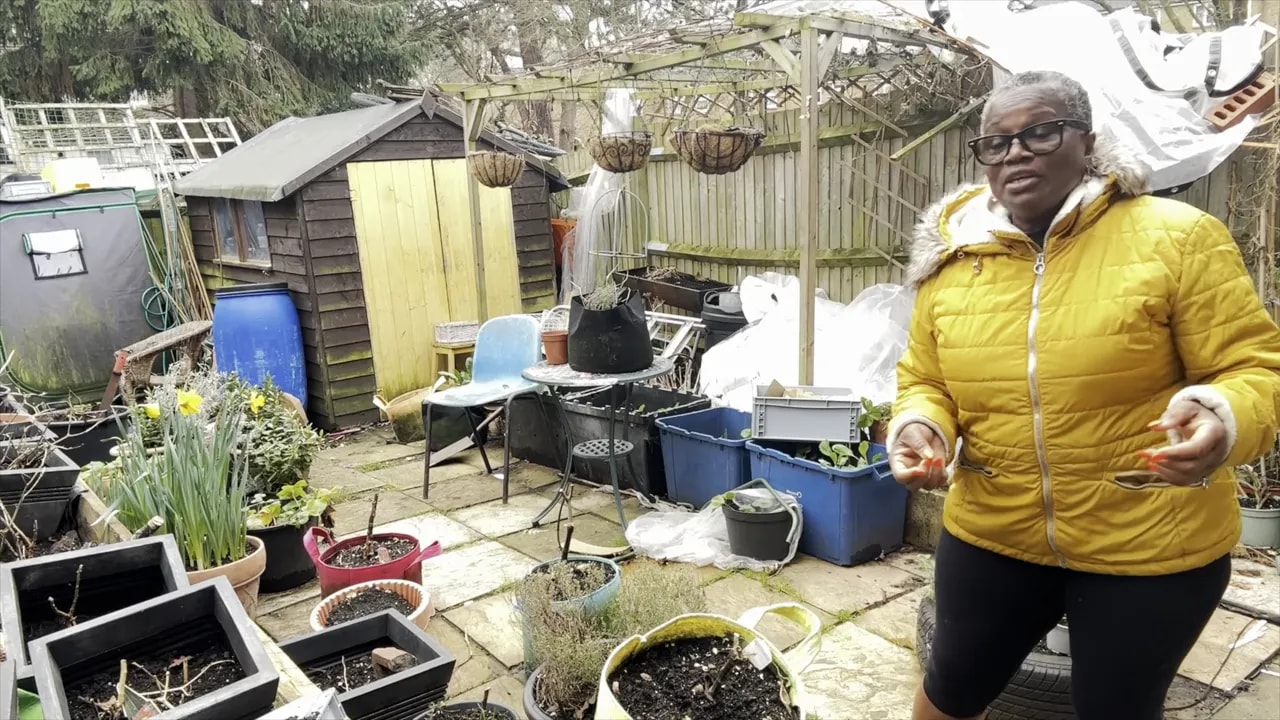
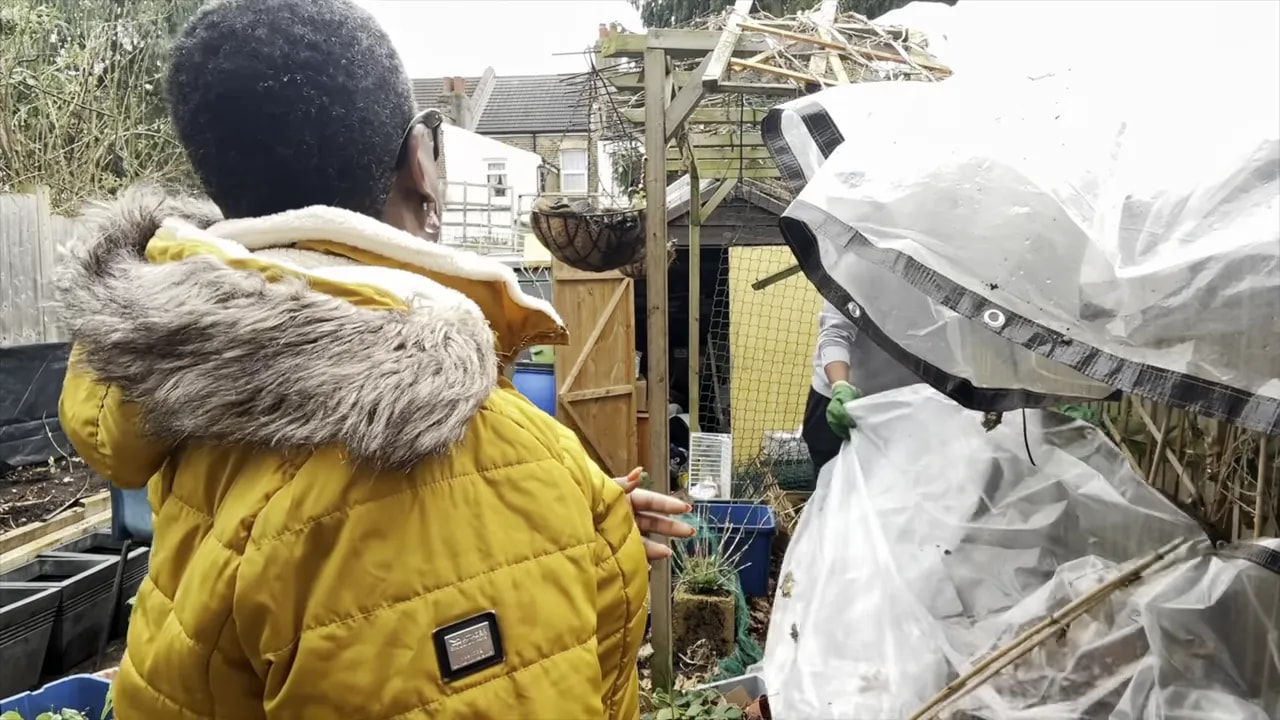
Before anything goes back in the raised bed, we do the messy part first. I get help from my goodly friend Ryan to remove everything. Containers come out. Old bits come out. We clean up inside the bed. We tidy the area around the choa harbors and make sure the whole setup looks organised and ready.
Yes, it looks like chaos. It always does at the start. But I love that part because I know what comes after. You will not believe how quickly it looks different once the beds are refreshed.
Step by step garden reset
- Remove containers so you can access the bed properly
- Take out woody pepper bits and any old plant debris that needs clearing
- Burn what should be burned to collect ashes
- Refresh the raised bed so it is ready for the next round
- Line up pots along the side and plan your layout for space
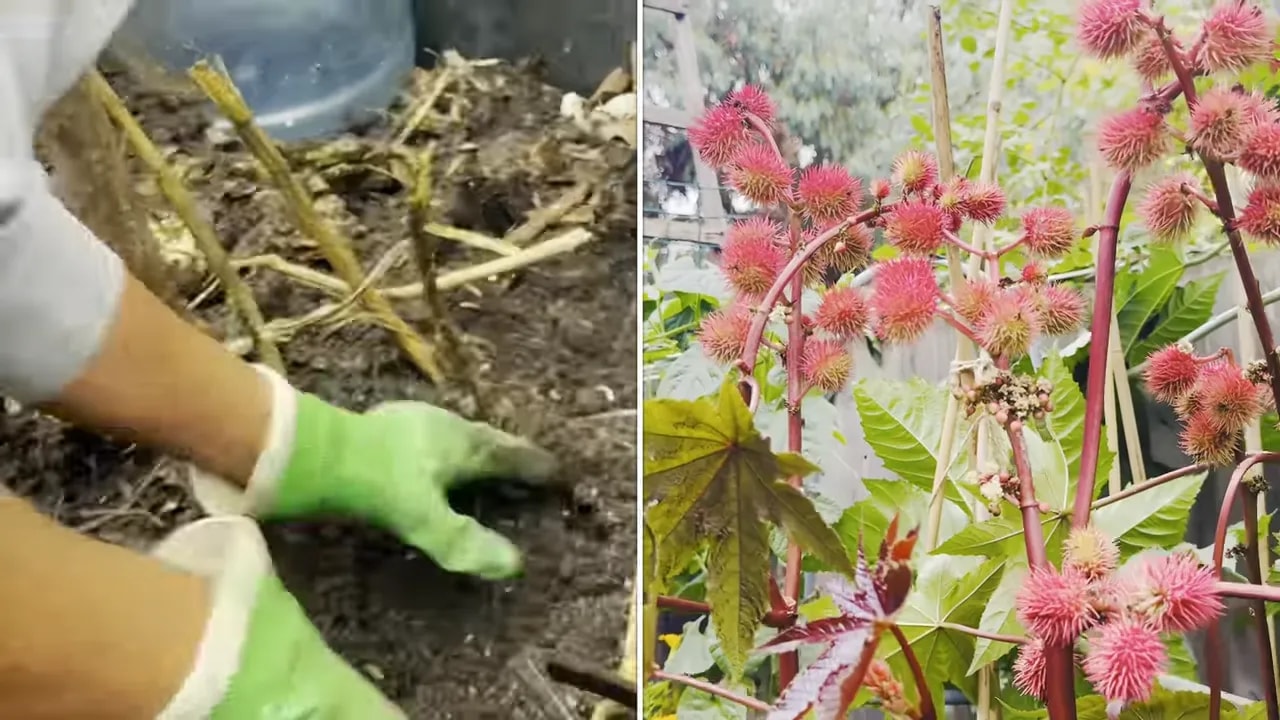
And listen, every garden has its drama. Mine had an unwanted tree that decided to grow tall and deep, the oil nut castor tree type. We had to pull that out too, careful careful, because it went down deep like it owned the place.
How I Make My Fertiliser Soup for Peppers
Now here is the part I get excited about because this is the pepper secret sauce, Jamaican style.
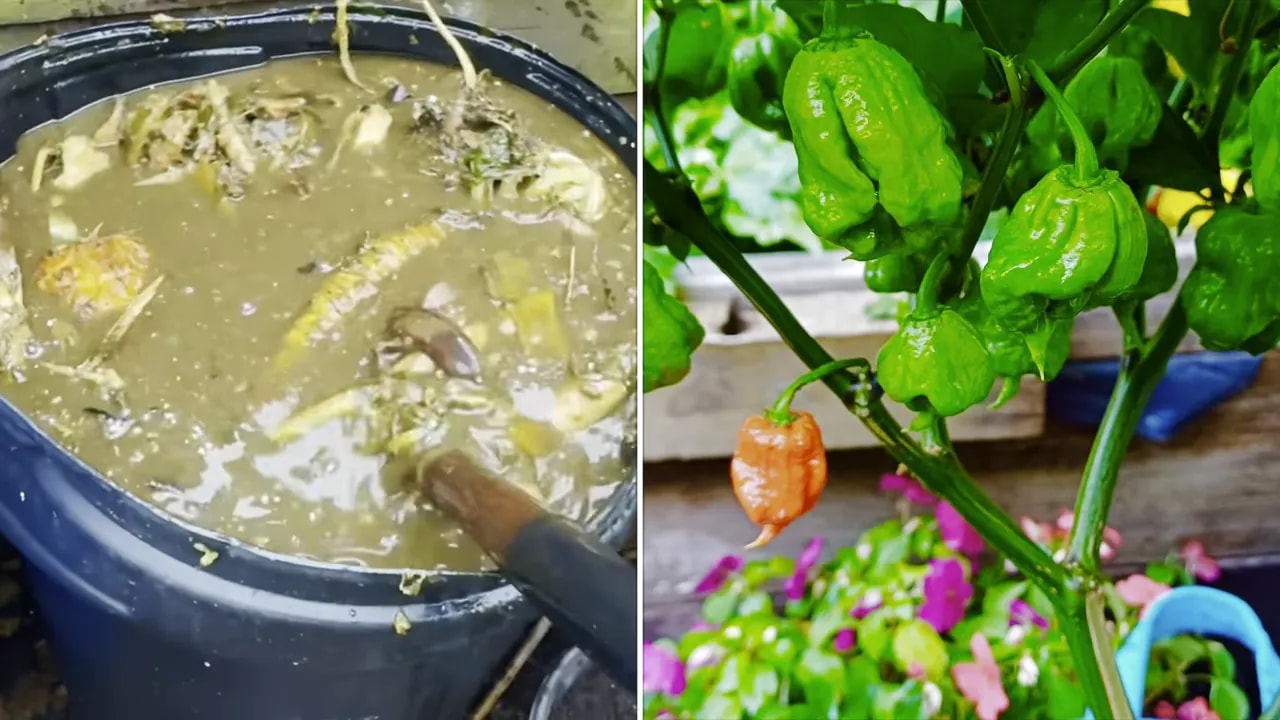
My fertiliser soup is made from last year’s scraps and goodness. It includes fruit and vegetable waste like:
- Pineapple
- Cabbage
- Apples
- Food scraps from the garden
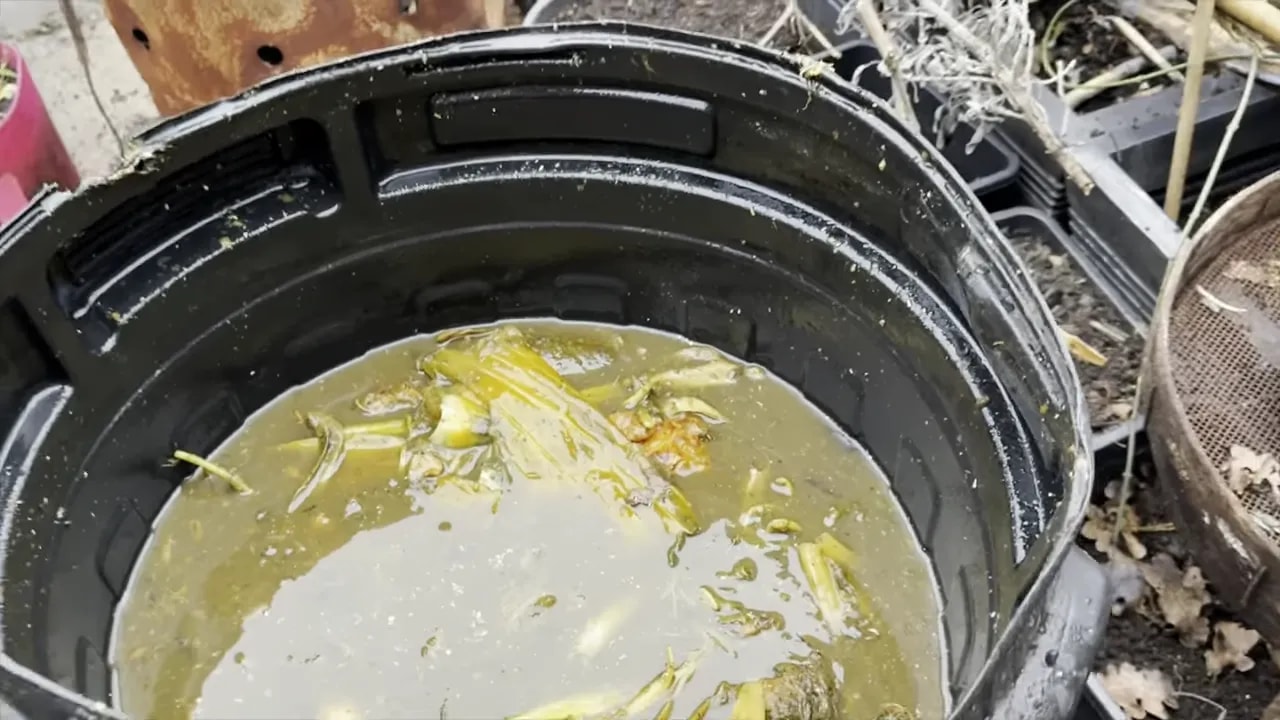
I also mix in ashes and molasses to build up the feed. The smell can be strong when you first make it, but don’t worry yourself too much. It is pure goodness meant for the soil.
Last year’s mixture is already broken down and ready. This is not a quickie fertiliser. This is food for microbes and roots over time. It is slow, steady pepper support.
The key idea
You pour that fertiliser soup into the soil, then work it in with a shovel and rake. That helps it settle, so nutrients are not just sitting on top where they can evaporate or wash away.
Burning Woody Bits and Collecting Ashes
When we pulled out old pepper woody bits and the castor oil tree, we did not let that become waste. The plan was to burn those parts and save the ashes.
Ashes can be a useful soil amendment because they add minerals. But I treat it like seasoning. Not too much, not too often, and always mixed into a bigger plan. For me, ashes are part of the fertiliser mix, coming alongside the composted food goodness and the molasses feed.
And yes, when you are gardening and you are tired and it is mild but still throwing rain like it has a grudge, everything becomes a comedy. I got drenched while helping. My back garden gear was not safe, but the work still got done.
Using Old Soil Without Starving Your Peppers
Here is one of the best money-saving tips. Don’t rush to bin soil just because you pulled last year’s plants out.
You can reuse old soil if you refresh it. What I do is top it up and add nutrient support. The goal is to bring it back to life for the next crop.
My basic rule is:
- Top up the soil instead of replacing it all
- Add manure and my feed compost style goodness
- Do not reuse it two years in a row for the exact same growing cycle
That last point matters because soil gets tired. The plant used up the available nutrients. Reusing with zero rest turns the bed into a sad place. Rest and refresh keeps it productive.
Leveling and Raking Fertiliser Into the Raised Bed
After I pour the fertiliser soup into the raised bed, I don’t just leave it there like it is a puddle. I work it in.
This is the part that makes you feel like a proper gardener. Grab the shovel, add a bit of soil movement, then rake to level. I like to make the bed neat and even, because the peppers will thank you with steadier growth.
When it is time to settle everything, it helps to let it dry out a bit before final planting. That way the bed is not waterlogged and the plants have a better start.
Organising Pots for Pepper Plants
Once the bed is refreshed, it is time to set up where everything will go. In my space, I line pots up along the side. Initially I planned to use blocks to build up the bed, but the truth is simple. It was too much work. So I stayed practical.
My daffodils go at the front because I want to save space and keep the colourful perennials where I can enjoy them. Then I shift the rest around based on what is taking space and what can be repotted.
Also, if you have unwanted plants with attitude, you deal with them. For example, I am not keeping red root skeletons in the plan. I take them out and deal with them in another container arrangement.
Layout tips I use every year
- Put smaller, decorative perennials at the front like daffodils
- Group pepper pots together for easier watering and maintenance
- Remove the things you do not want before planting so they do not compete
- Protect choa and beds with plastic coverings where needed for frost protection
By the time I get the pots lined up, I can practically see pepper season already. That is when my heart starts smiling.
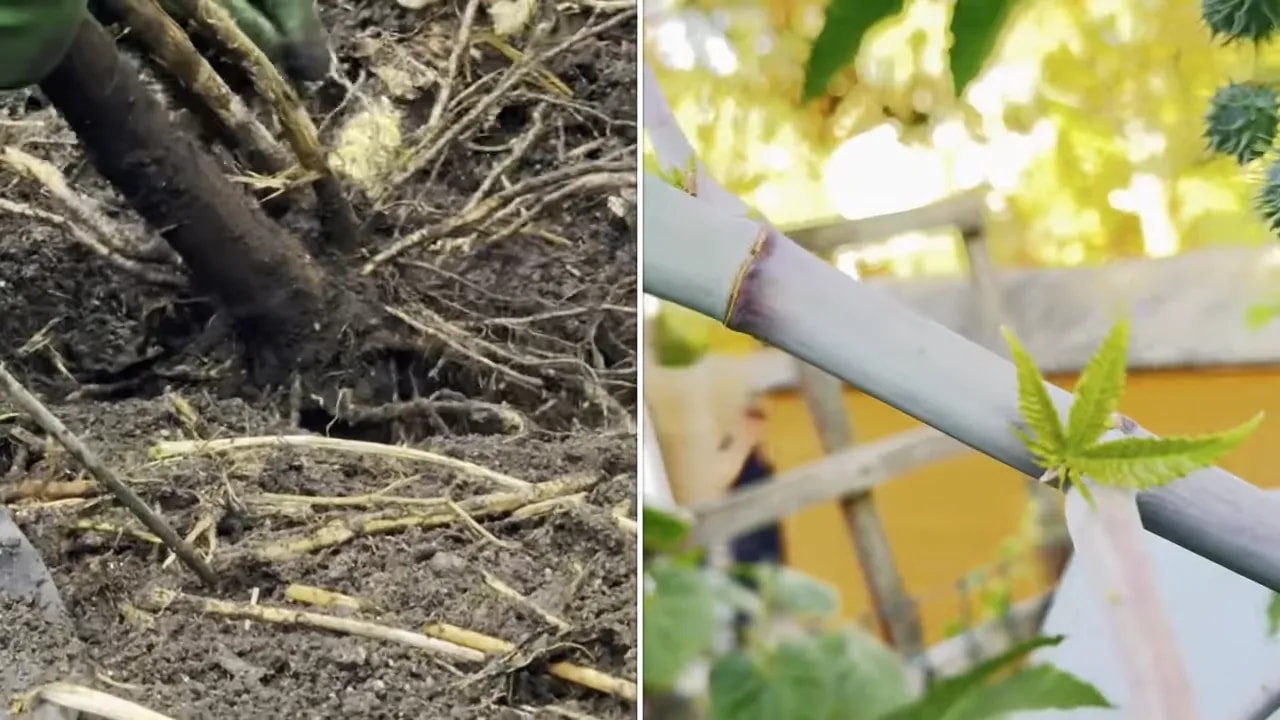
Removing the Castor Oil Tree and Getting the Deep Roots Out
Let’s talk about that oil nut castor tree. It grew massive and tall, and it really looked like it wanted to stay forever. But it had to go, so we attempted removal carefully.
One try and we realised the truth. The roots go very deep. Like deep, deep. You can pull and pull and still feel like the earth is holding it in place. But it came out in the end, and when you see a root like that, you understand how much the plant pulled from the soil.
After it came out, we chopped it and burned it. The ashes then joined the rest of the soil amendment plan. Nothing gets wasted unless it has to.
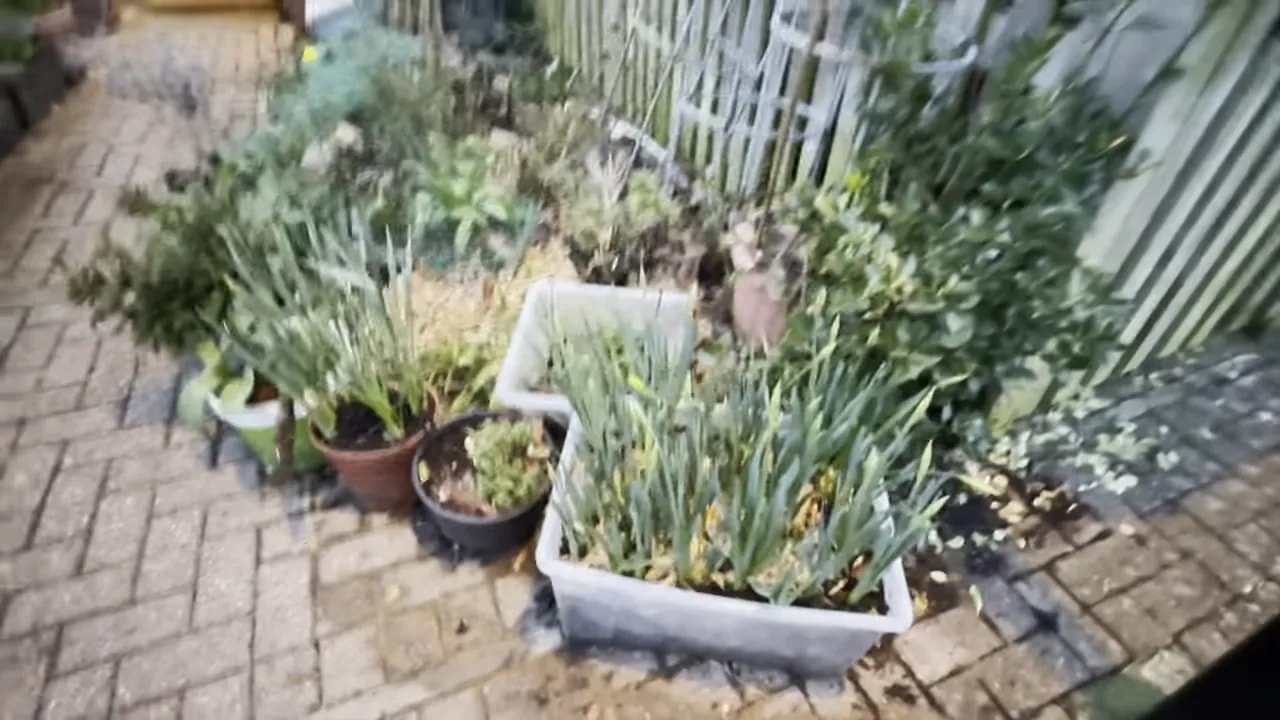
The Front Garden Update Too
A garden reset is not only about the raised bed. My front garden needs love too, because that is where people notice you first, and where I get my calm before the big work starts.
In my front garden I had:
- Onions red and white
- Garlic
- A banana tree that looks nearly dead but usually bounces back
- Flowers and perennials including daffodils
- Shard and other helpful greens
- General signs of early spring growth
I will tidy it properly so it looks beautiful again in the summer. For now it is coming along. And I always keep an eye on where the vegetables will go next once the spring work is finished.
Common Problems and Easy Fixes From My Setup
Gardening is never just one perfect step. It is lots of small problems and quick fixes, like when the weather surprises you and you end up soaked. Or when you realise your bed layout needs adjusting because you misjudged space.
Here are a few problems I deal with often
- Too much mess to start Your answer is organise first, tidy second, plant last
- Soil feels tired Refresh with manure and composted feeds, not just water
- Nutrients not settling Rake in after pouring so roots get contact
- Cold snaps Use coverings like plastic to protect the choa area so perennials come back
- Unwanted plants Remove early and repot or discard where appropriate
That is the real gardening truth. It is work. But it is satisfying work.
What You Can Do This Week for Pepper Success
If you are gearing up for peppers and your garden feels chaotic, try this simple plan inspired by my process.
- Clear the bed of old woody bits and anything not needed
- Reuse soil wisely by topping up with manure and compost goodness
- Add your fertiliser mix and then shovel and rake it in
- Level the surface so watering is even and roots can settle
- Organise pots early so you know exactly where each pepper plant will live
- Plan your front garden too because it keeps you motivated
When you do the prep right, peppers start to look ready even before they are planted out. That feeling? Priceless. It is like cooking with anticipation. You can smell the future already.
Now go get your garden gloves out. Time catches up fast, but if you keep going, your mess will turn into a neat, pepper-ready space. And when those peppers start coming, you will be dancing like you were never tired at all.

0 Comments